How to Check Brake Pads (At Home, No Mechanic Needed)
Knowing how to check brake pads is one of the easiest ways to stay ahead of a costly repair. You don’t need a mechanic or any fancy tools. A flashlight and a few minutes are all it takes.
This guide covers two simple methods to get it done at home, plus the warning signs you should never ignore.
How to Check If Your Brake Pads Are Worn
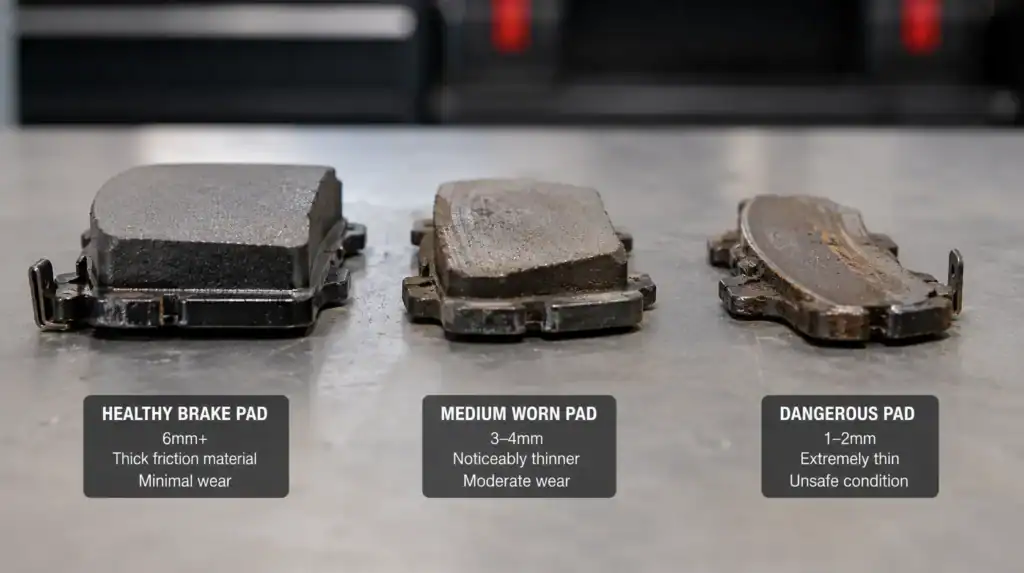
To check brake pads, look through the wheel spokes with a flashlight and inspect the pad thickness against the rotor. If the friction material looks thinner than 3–4 mm, the brake pads are worn and should be replaced soon. You should also watch for warning signs like squealing, grinding noises, vibration, or weak braking performance.
- Healthy brake pads: 6 mm or more
- Replace soon: 3–4 mm
- Replace immediately: 1–2 mm
Below, we’ll show you exactly how to inspect your brake pads step by step with and without removing the wheel.
What You’ll Need (Quick List)
To inspect brake pads at home, you don’t need a full toolbox. Just a few basic things most people already have lying around.
- Flashlight or work light
- Jack and jack stands
- Lug wrench
- Ruler or brake pad gauge
- Safety gloves and glasses
How to Check Brake Pads Without Removing the Wheel
This is the quickest way to check your brake pads. No jacking up your car, no removing anything. Just park, grab your flashlight, and take a peek.
Step 1 ➔ Park and Turn Your Wheels
Park your car on a flat surface and turn the engine off. Let the brakes cool down for at least an hour if you just drove. Hot brakes are no joke.
Now turn your steering wheel all the way to one side. This opens up the wheel spokes and gives you a much better angle to eyeball the brake pad.
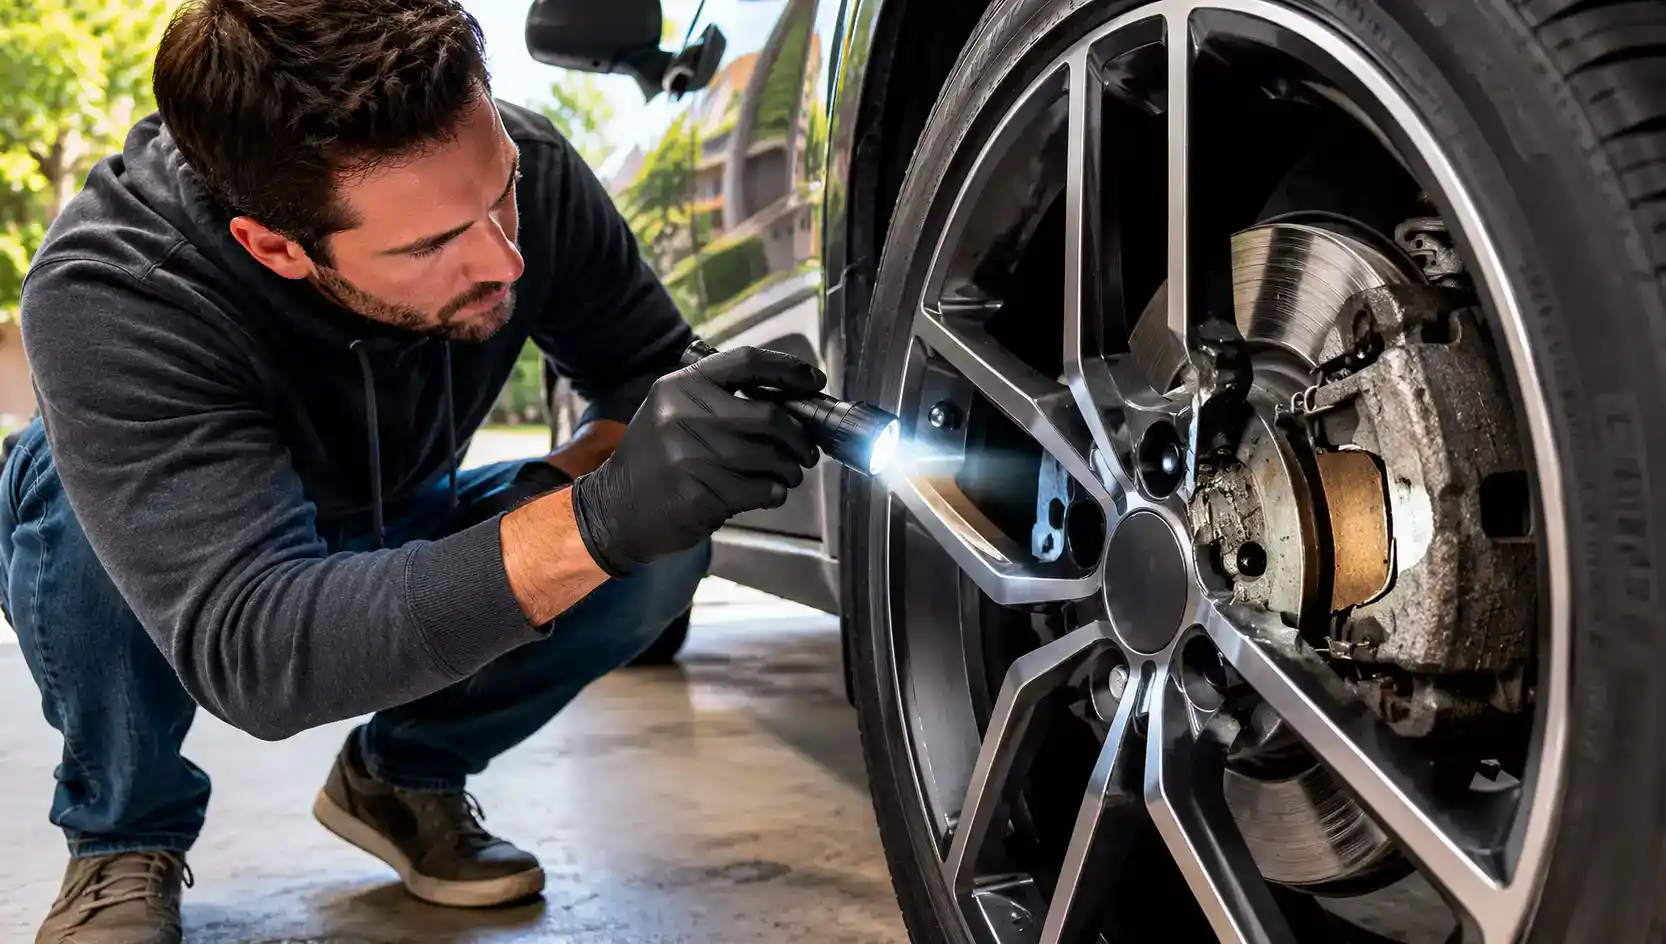
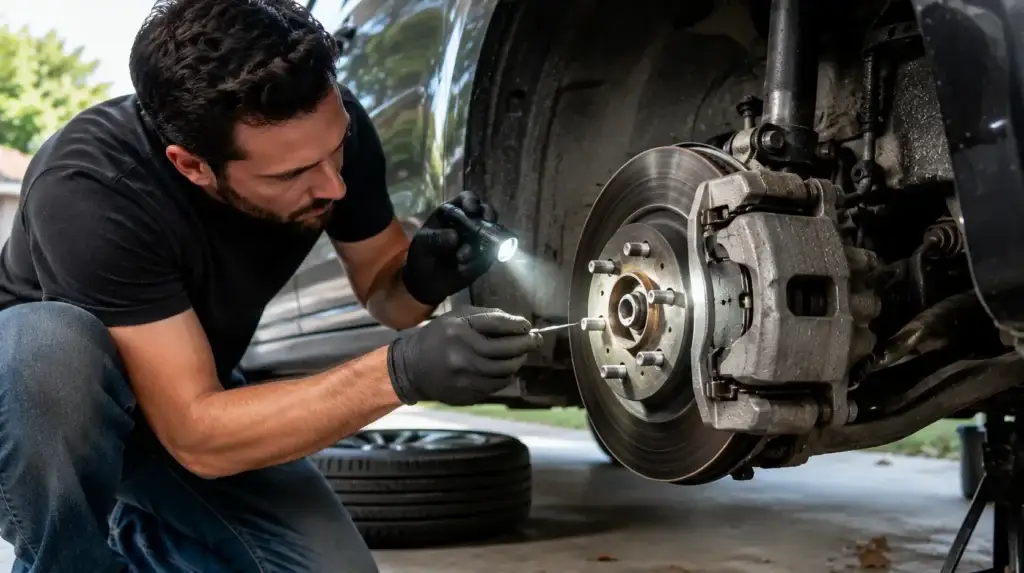
Step 2 ➔ Look Through the Wheel Spokes
Shine your flashlight through the wheel spokes and look for the brake caliper. It’s the metal clamp sitting over the shiny disc (that’s your rotor). The brake pad is sandwiched right between the caliper and the rotor.
Focus on the friction material, the dark layer pressing against the rotor. That’s what you’re checking. If you’re having trouble seeing the inner pad, use a small mirror or your phone camera to get a better angle.
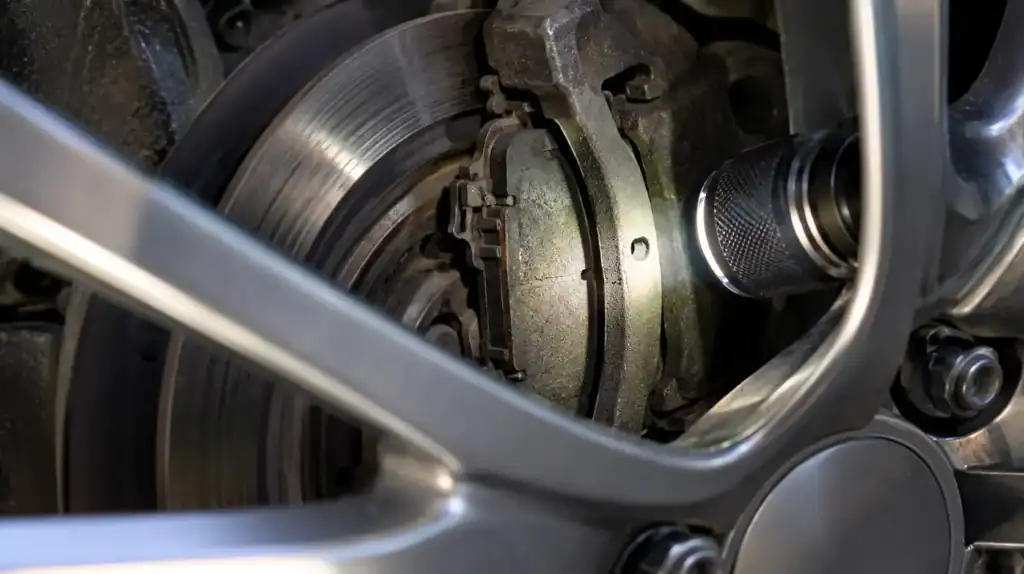
Step 3 ➔ Check Pad Thickness
Once you spot the pad, eyeball its thickness. A healthy brake pad is at least 1/4 inch (6mm) thick. If it looks noticeably thinner, it’s a good sign the pads are getting low and may need replacement soon.
What Is a Brake Pad Wear Indicator?
Most modern brake pads come with a built-in wear indicator that warns you when the pads are getting too thin. Some use a small groove in the pad surface, while others use a thin metal tab that creates a squealing sound when it touches the rotor.
If you hear that high-pitched squeal while braking, your car is likely telling you it’s time to inspect or replace the pads.
How to Inspect Brake Pads With the Wheel Off
Can’t see the pads clearly through the spokes? Pull the wheel off. It gives you a full, up-close look at the pad, caliper, and rotor all at once.
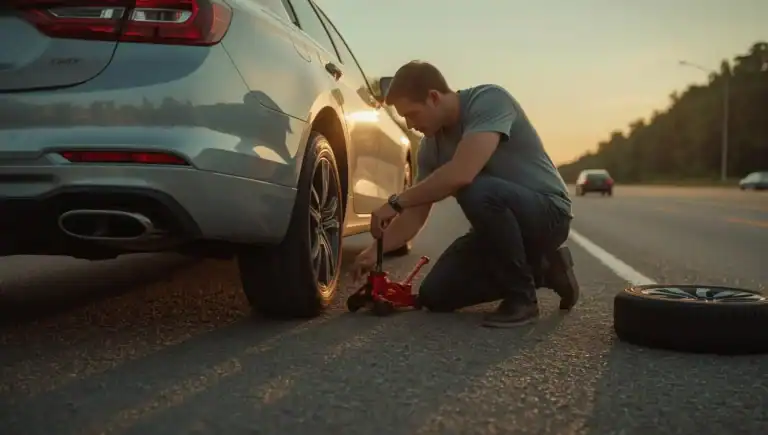
Step 1 ➔ Jack Up the Car Safely
Park on a flat, solid surface like a concrete driveway. Engage the parking brake and chock the wheels that stay on the ground.
Place the jack under the correct jack point. Check your owner’s manual if you’re not sure where that is. Lift the car and secure it on jack stands right away. Never rely on the jack alone to hold your ride up. Give the car a slight shake before you get to work. If it feels solid, you’re good to go.
Step 2 ➔ Remove the Wheel
Loosen the lug nuts with your wrench before the wheel comes off. Pull the wheel straight toward you and set it aside.
With the wheel off, you now have a clear view of the brake pad, caliper, and rotor all at once. This is where you get the full picture of what’s going on with your brakes.
Step 3 ➔ Measure and Inspect
Use a ruler to measure the friction material on the pad. That’s the dark layer pressed against the rotor, not the metal backing plate behind it. Anything above 6mm and you’re good. At 3mm or below, it’s time to replace them.
Also check both the inner and outer pads. They don’t always wear evenly. If one is noticeably thinner than the other, your caliper might have an issue worth getting checked out.
How to Tell If Brake Pads Are Worn: 4 Signs
Sometimes you don’t even need to look. Your car will tell you when the brake pads are worn. Here are 4 signs you should never ignore.
Squealing or Squeaking Sound
That high-pitched squeal you hear while braking is not random. Most brake pads have a small built-in metal tab called a wear indicator. When the pad wears down, this tab scrapes against the rotor and starts squealing to get your attention.
Think of it as your car giving you a heads up. That sound means your pads are getting low and it’s time to get them checked out.
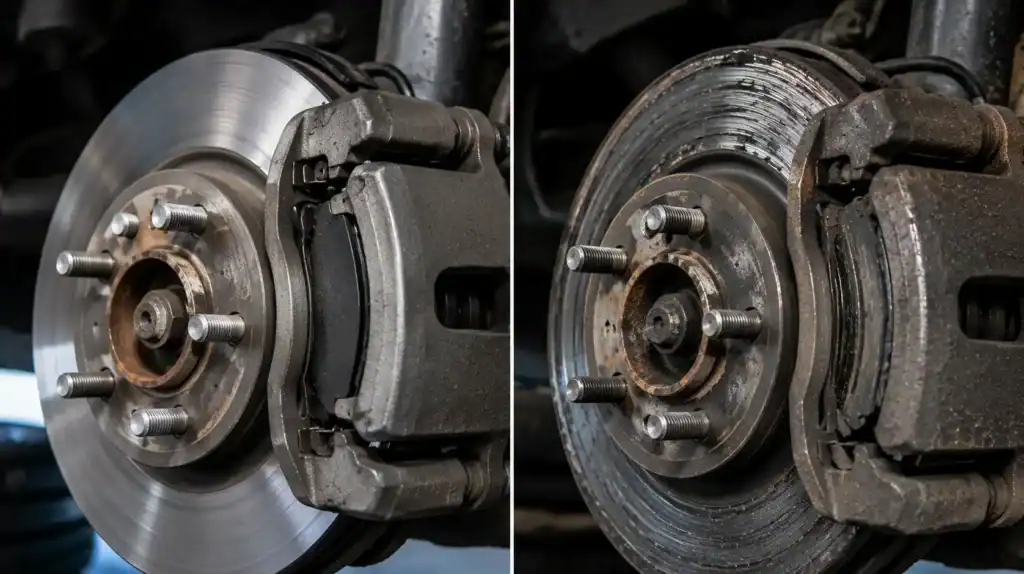
Grinding Noise While Braking
Grinding is a step beyond squealing and way more serious. It means the friction material on your pads is completely gone. Now the metal backing plate is scraping directly against your rotor every time you hit the brakes.
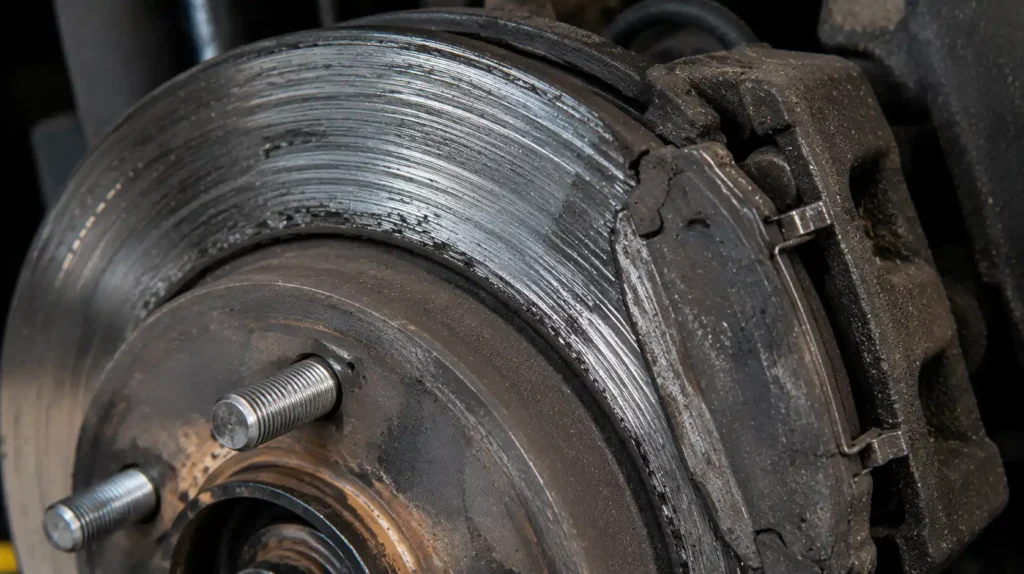
At this point, you’re not just dealing with worn pads. You’re likely damaging your rotors too, which turns a simple fix into a much bigger repair bill. Get your ride to a mechanic ASAP.
Brake Pedal Feels Soft or Spongy
Press the brake pedal and it feels like you’re pushing into a sponge? That’s not normal. Worn brake pads can cause the caliper pistons to overextend, which affects the hydraulic pressure in your brake system. The pedal loses its firmness and travels closer to the floor than it should.
If this happens, get it checked out before it gets worse.
Car Pulls to One Side
If your car drifts left or right when you brake, your pads are likely wearing unevenly. One side is gripping harder than the other, pulling your ride in that direction. Uneven wear is often a sign of a sticking caliper on one side. It is worth getting looked at sooner rather than later.
Brake Pad Thickness: When to Replace vs. Keep Driving
Not sure if your pads are shot or still have some life left? Use this as your quick reference:
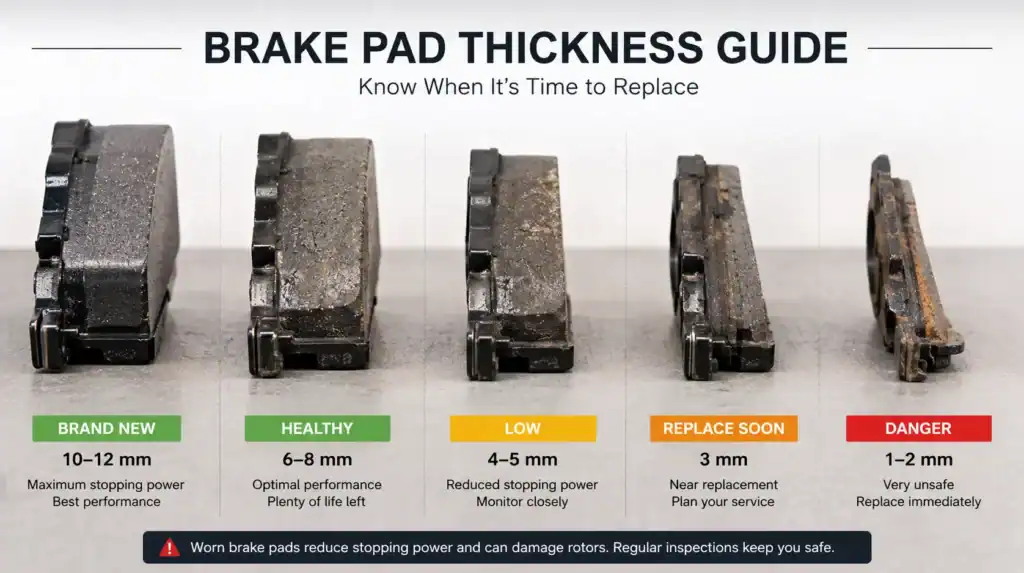
| Thickness | Status | Action |
| 10–12 mm | Brand new | ✅ You’re good |
| 6–8 mm | Healthy | ✅ Keep driving |
| 4–5 mm | Getting low | 👀 Keep an eye on it |
| 3 mm | Worn | ⚠️ Schedule replacement |
| 1–2 mm | Danger zone | 🔴 Replace ASAP |
A new brake pad starts at around 10–12mm. Most mechanics recommend replacing them at 3mm. At that point your stopping power drops and you risk damaging the rotors too, which makes the repair a lot more expensive.
How Often Should You Check Your Brake Pads?
A good rule of thumb is every 6 months or every time you get your tires rotated. That way it becomes part of your regular routine and nothing sneaks up on you.
If you do a lot of city driving with frequent stops, check them more often. Stop-and-go traffic wears pads down way faster than highway driving.
Brake Pad FAQs Drivers Ask All the Time
How Long Do Brake Pads Last?
Most brake pads last between 25,000 and 65,000 miles, depending on your driving habits, traffic conditions, and the type of pads your car uses. City driving with lots of stop-and-go traffic usually wears them out faster than highway driving.
Can You Drive With Worn Brake Pads?
You can for a short time, but it is not a good idea. Worn brake pads reduce stopping power and can damage your rotors if ignored for too long. If you hear grinding or notice weak braking, get them replaced ASAP.
Do Front Brake Pads Wear Faster Than Rear Pads?
Yes, in most cars the front brake pads wear out faster because the front brakes handle most of the stopping force. That is why front pads usually need replacement more often than rear pads.
Should You Replace All Brake Pads at the Same Time?
Not always. If only the front or rear pads are worn, you can replace just that pair. However, replacing pads on both sides at the same time helps maintain even braking and better control.