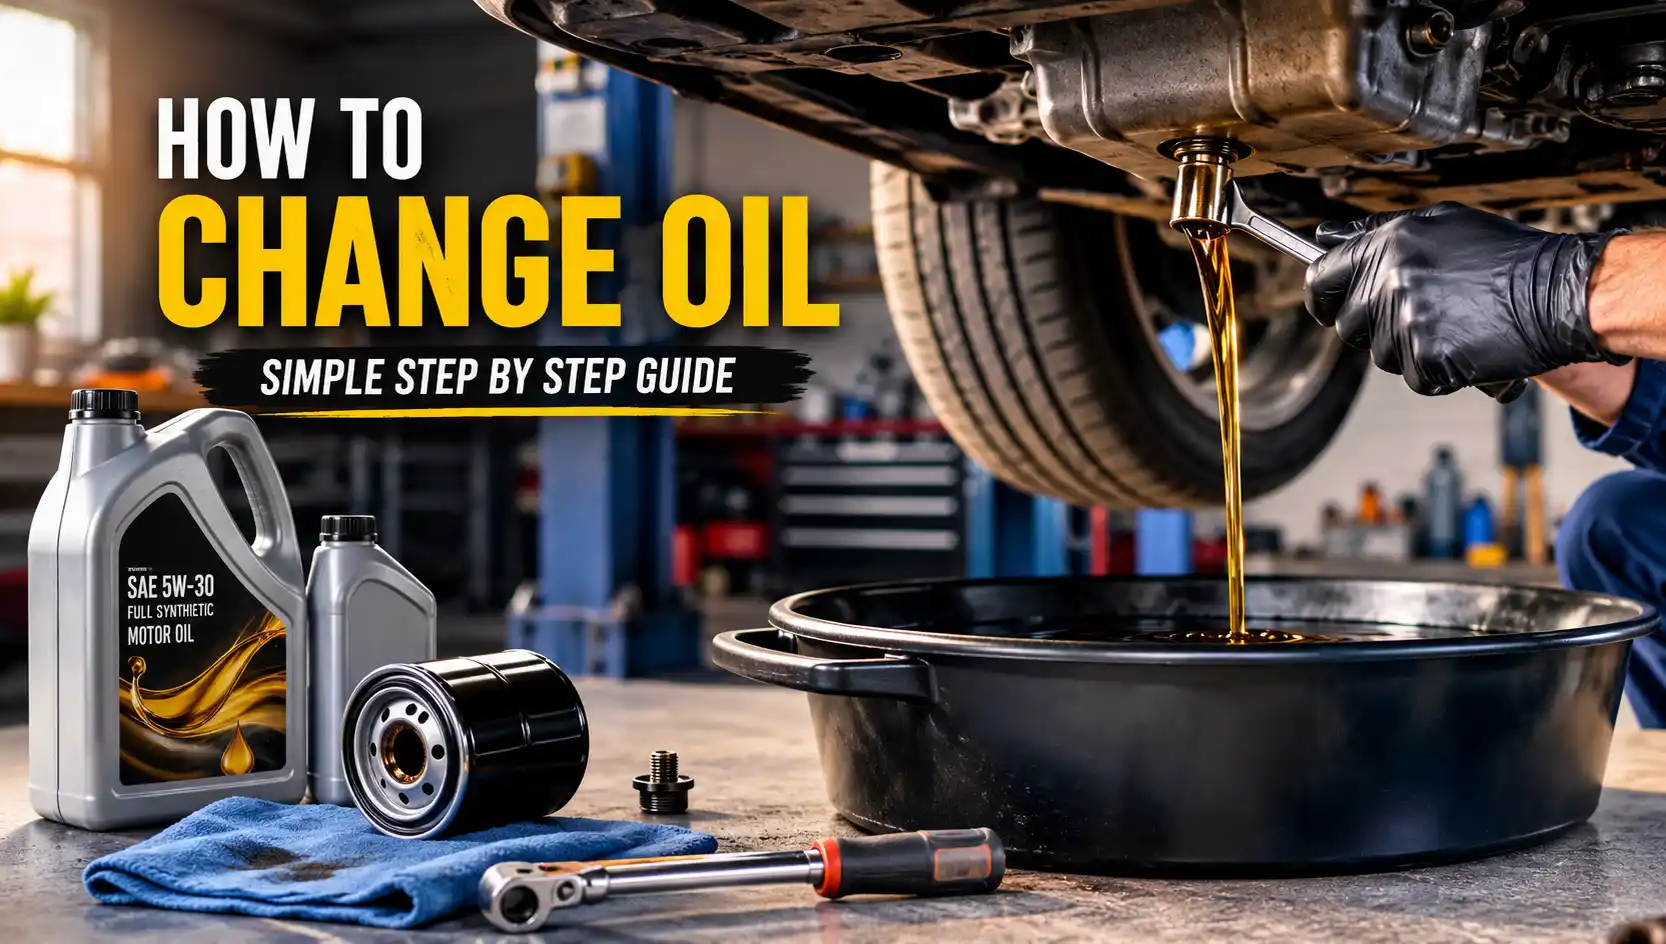
How to Change Oil
Changing your own oil is a simple maintenance task that can help keep your engine running smoothly and save you money on service costs. If you’re wondering how to change oil, you do not need advanced mechanical skills or a full garage setup.
With the right supplies and a few basic steps, you can complete the job safely and get back on the road with confidence.
What You’ll Need Before You Start
Before you get started, make sure you have the right tools and supplies on hand. Having everything ready ahead of time will help you complete the oil change smoothly and avoid unnecessary interruptions.
- Motor oil
- New oil filter
- Oil drain pan
- Wrench or socket set
- Oil filter wrench
- Funnel
- Gloves
- Shop rags or paper towels
- Ramps or jack stands (if needed)
How to Change Oil: Step-by-Step
Now that you have everything ready, it’s time to change the oil. Follow the steps below in order to safely remove the old oil, replace the filter, and refill the engine with fresh oil.
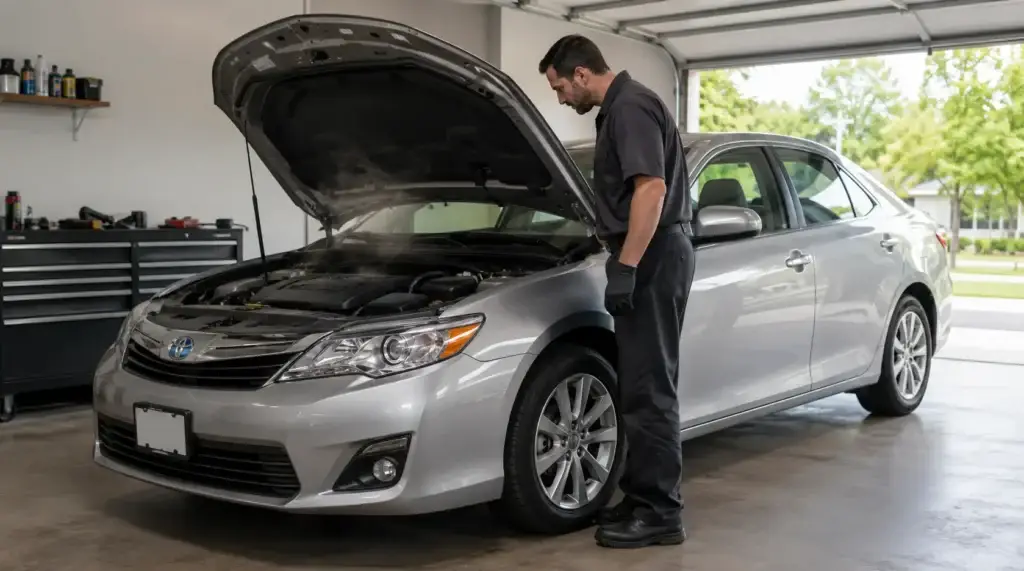
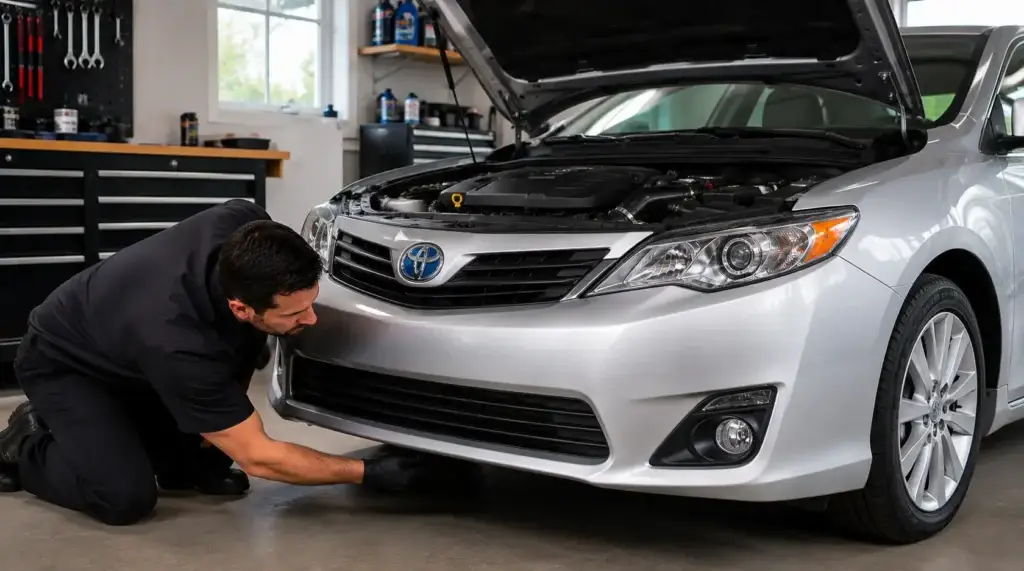
Step 1: Park the Vehicle and Let the Engine Cool
Park your vehicle on a flat, level surface and set the parking brake to prevent any movement while you work. If the engine has been running, let it cool down for a few minutes before getting started. Engine components and motor oil can become extremely hot after driving, so giving the vehicle time to cool helps reduce the risk of burns and makes the job safer.
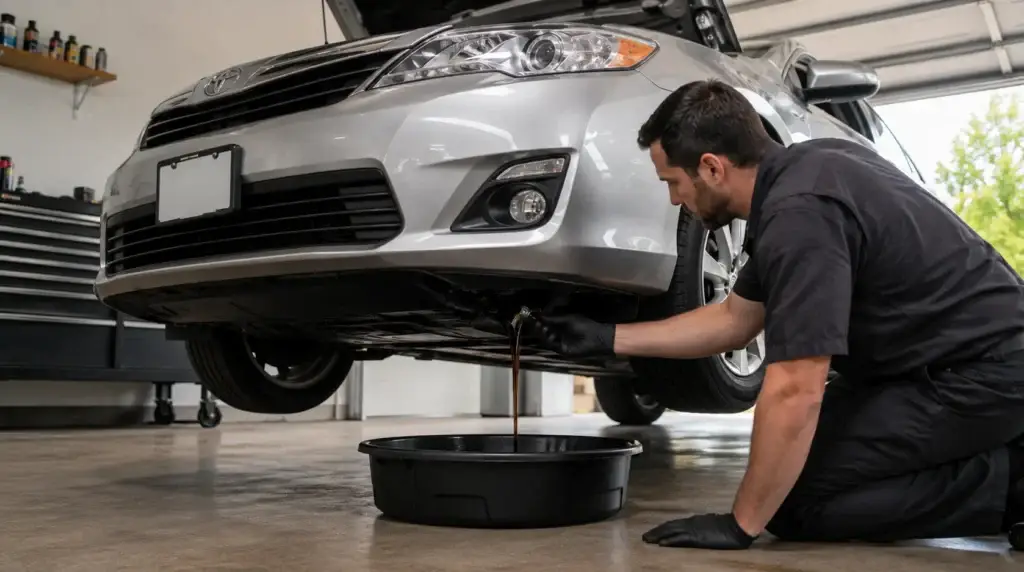
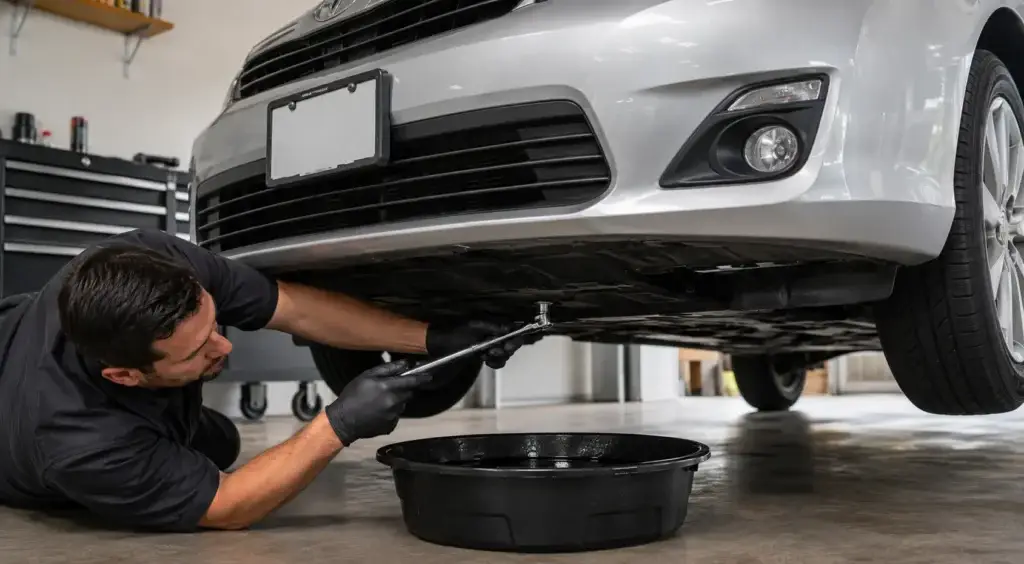
Step 2: Locate the Drain Plug and Drain the Old Oil
Place the drain pan beneath the oil pan and locate the drain plug at the bottom. Remove the plug carefully and let the old oil drain completely until it slows to a light drip.
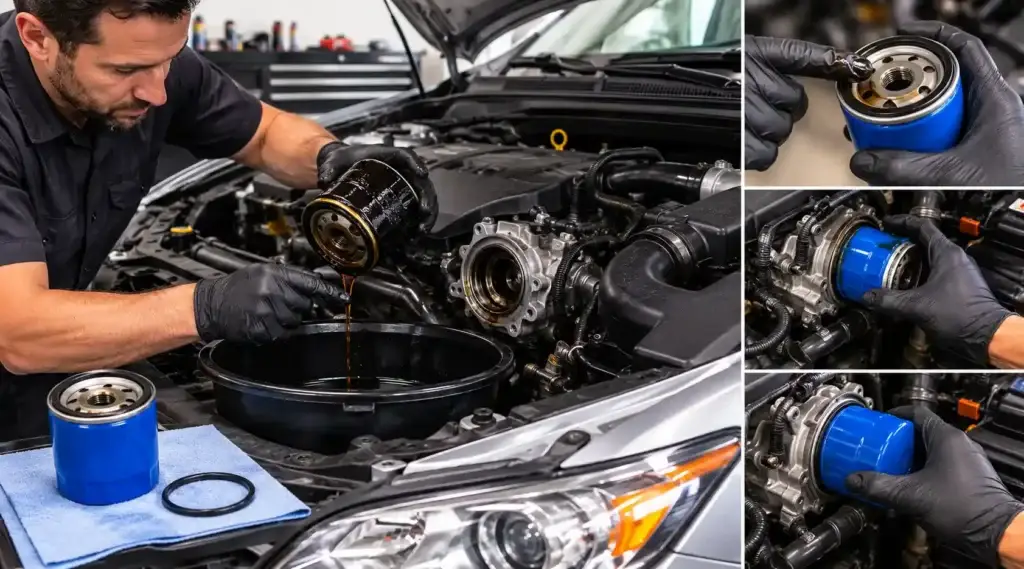
Step 3: Remove and Replace the Oil Filter
Locate the oil filter and remove it carefully, as it may still contain some old oil. Before installing the new filter, make sure the old gasket is not stuck in place, then lightly coat the new filter gasket with fresh oil and tighten the filter by hand.
Step 4: Reinstall the Drain Plug
Once the old oil has finished draining, reinstall the drain plug and tighten it securely. Avoid overtightening, as this can damage the threads or the oil pan.
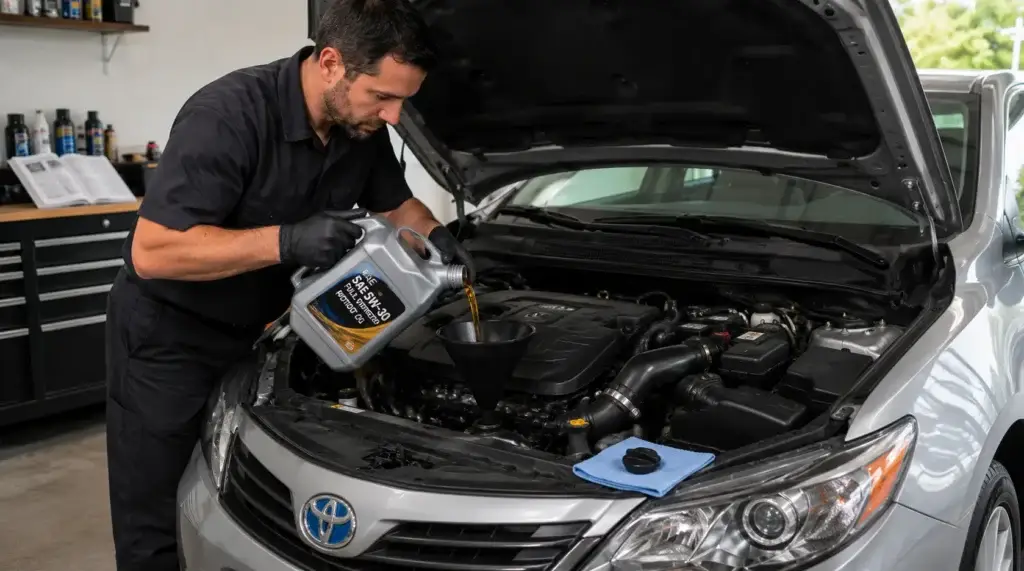
Step 5: Add New Oil
Remove the oil fill cap and use a funnel to pour in the correct type and amount of fresh oil for your vehicle. Check your owner’s manual if you’re unsure which oil grade or capacity your engine requires.
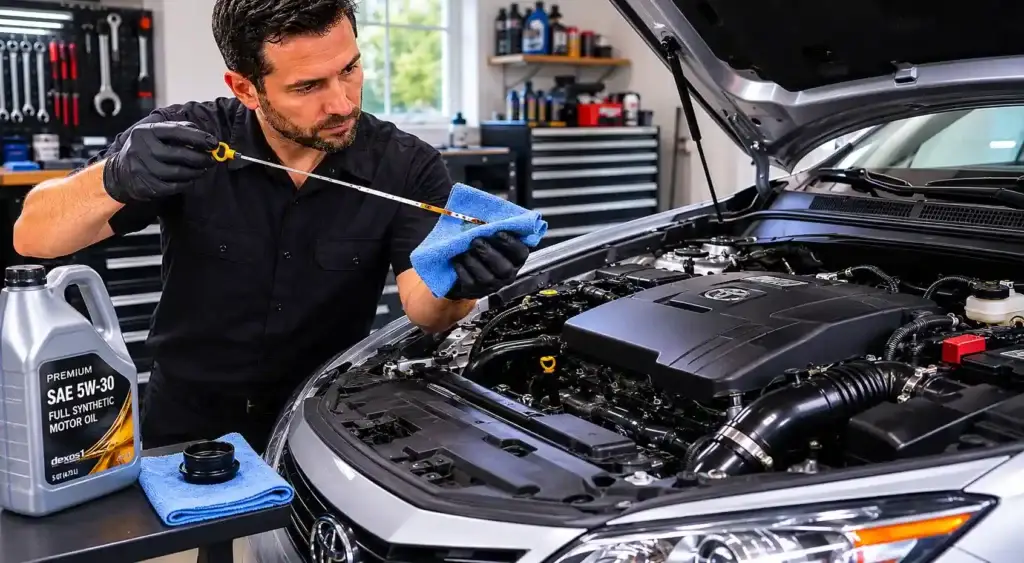
Step 6: Check the Oil Level
After adding the new oil, wait a minute for it to settle, then check the level using the dipstick. Add more oil if needed until the level falls within the recommended range.
Step 7: Start the Engine and Check for Leaks
Start the engine and let it idle for about a minute to circulate the new oil. Then check around the oil filter and drain plug for any signs of leaks before shutting the engine off.
Common Mistakes to Avoid During an Oil Change
Even a simple oil change can lead to problems if a few key details are overlooked. Avoid the common mistakes below to help prevent leaks, engine damage, and unnecessary repairs.
Using the Wrong Oil
Using the wrong oil is one of the most common oil change mistakes. Different engines are designed to work with specific oil viscosities, such as 0W-20 or 5W-30. Using the wrong grade can reduce lubrication, affect performance, and increase engine wear over time.
Before adding new oil, check your owner’s manual or the information listed on the oil cap. This ensures you’re using the correct oil type and viscosity for your vehicle. When in doubt, always follow the manufacturer’s recommendation instead of guessing.
Forgetting the Old Filter Gasket
When removing the old oil filter, make sure the rubber gasket comes off with it. In some cases, the gasket can stick to the engine’s mounting surface and go unnoticed.
Installing a new filter on top of an old gasket creates a poor seal and can cause a major oil leak shortly after the engine starts. Before fitting the new filter, take a quick look at the mounting area and remove any leftover gasket material.
Overtightening the Drain Plug
Many people assume tighter is better, but overtightening the drain plug can damage the threads in the oil pan. This can make future oil changes more difficult and may even lead to costly repairs.
Tighten the drain plug until it is secure, but do not force it. If your vehicle manufacturer provides a torque specification, follow that recommendation for the best results.
Overfilling the Engine
Adding too much oil can be just as harmful as running the engine with too little. Excess oil can create extra pressure inside the engine and may lead to leaks, reduced performance, or damage to certain components.
After refilling, always check the dipstick and make sure the oil level stays within the recommended range. If you accidentally add too much, remove the excess oil before driving the vehicle.
How to Dispose of Used Motor Oil
Used motor oil should never be poured onto the ground, into storm drains, or down household drains. Even a small amount can contaminate soil and water, making proper disposal an important part of every oil change.
Once the oil has cooled, transfer it into a clean, sealed container and take it to a local recycling center or auto parts store that accepts used motor oil. You can also recycle the old oil filter, but let it drain completely first to reduce waste and prevent spills.
Quick Oil Change Checklist
Use this quick checklist to make sure you don’t miss any important steps during your oil change. A quick review at the end can help you avoid common mistakes and keep your vehicle running smoothly.
- Park the vehicle on a level surface
- Let the engine cool down
- Gather all required tools and supplies
- Place the drain pan under the oil pan
- Remove the drain plug and drain the old oil
- Replace the oil filter
- Reinstall and tighten the drain plug
- Add the correct type and amount of new oil
- Check the oil level with the dipstick
- Start the engine and inspect for leaks
- Recheck the oil level if needed
- Transfer used oil to a sealed container
- Recycle the used oil and old filter properly
Oil Change FAQs
Do You Need to Change the Oil Filter Every Time?
Yes, it’s a good idea to replace the oil filter with every oil change. A dirty filter can hold contaminants from the old oil, which may reduce the effectiveness of the fresh oil.
Can You Just Add Oil Instead of Changing It?
No. Adding oil only increases the oil level. It does not remove dirt, sludge, or contaminants that build up over time. An oil change replaces the old oil with fresh oil to help protect the engine.
What Happens If You Overfill Engine Oil?
Too much oil can create excess pressure inside the engine and may cause leaks, foaming, or reduced lubrication. If the oil level is above the recommended range, remove the excess before driving.
How Do You Know It’s Time for an Oil Change?
Common signs include an oil change reminder light, increased engine noise, dark or dirty oil, or reaching the service interval listed in your owner’s manual.
Is Changing Your Own Oil Worth It?
For many vehicle owners, yes. It can save money, help you stay on top of maintenance, and give you a better understanding of how your vehicle works.